 UBI
Glass appearance options
Glass with fine rain-like vertical lines · Glass infill
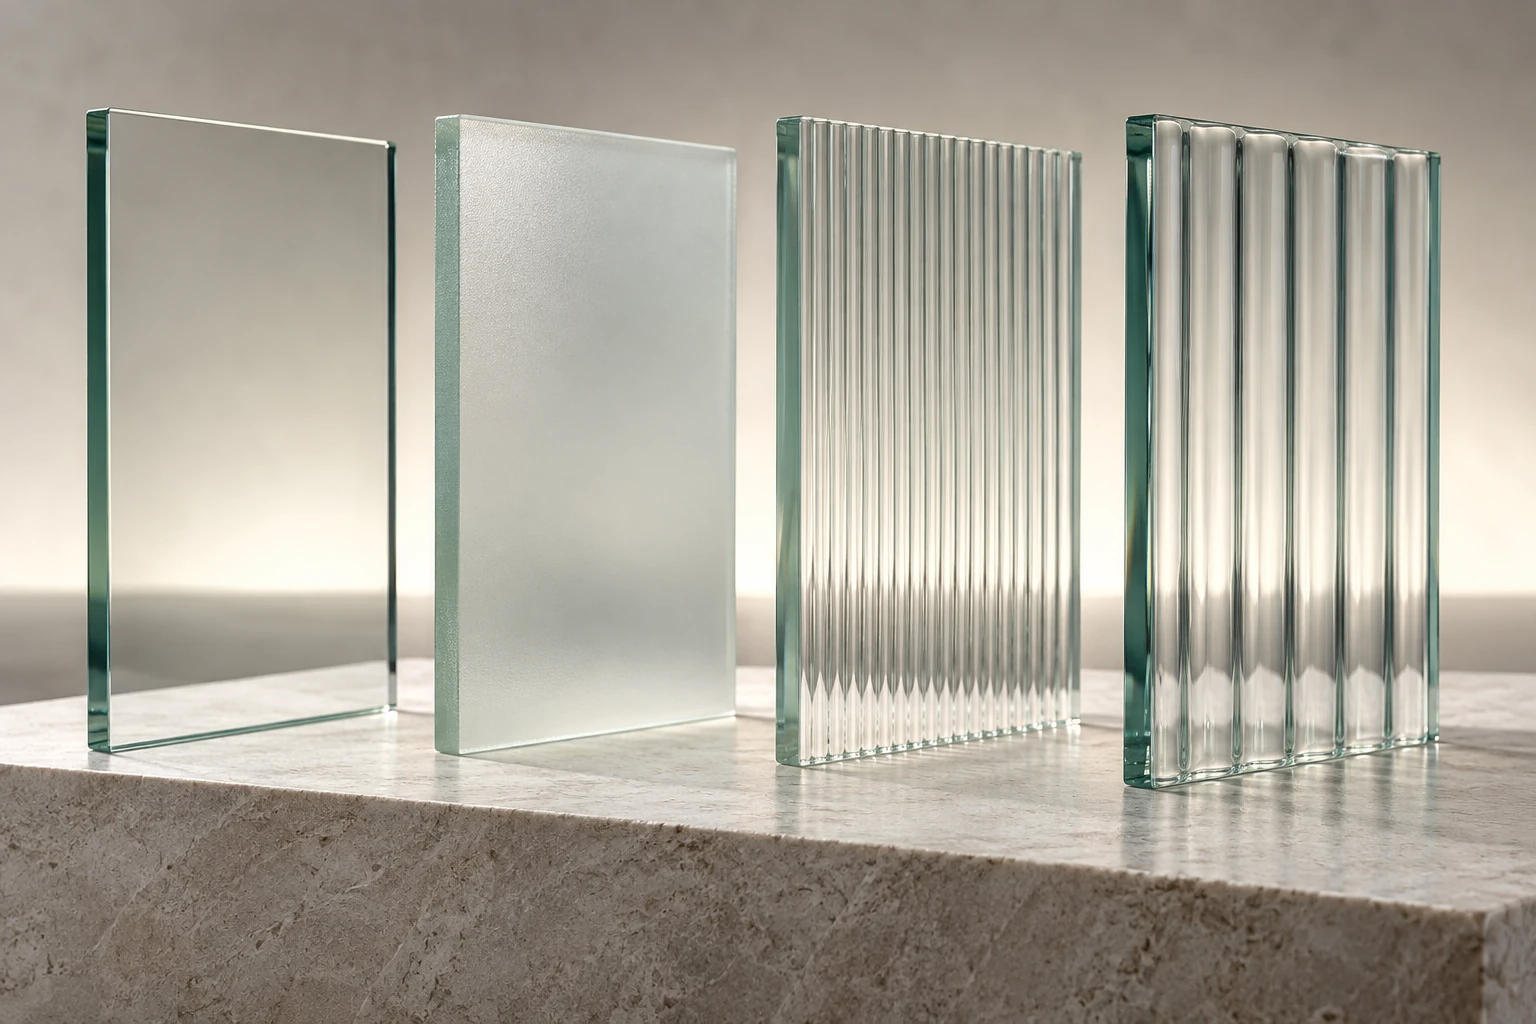
Glass with fine rain-like vertical lines. Glass infill with the selected transparent, tinted, coated or patterned appearance. Confirm thickness, processing and the compatible frame before ordering.
Details you can see
Material illustrations. They show a fine rain-like vertical textured-glass direction and do not prove an exact production sample, pattern or safety specification. This direction is distinct from coarse fluted or uniformly frosted glass. Confirm the physical sample, pattern scale and direction, glass type, thickness, edge processing, tempering or lamination, optical and privacy performance, frame and hardware compatibility, safety standard and current availability before specification.
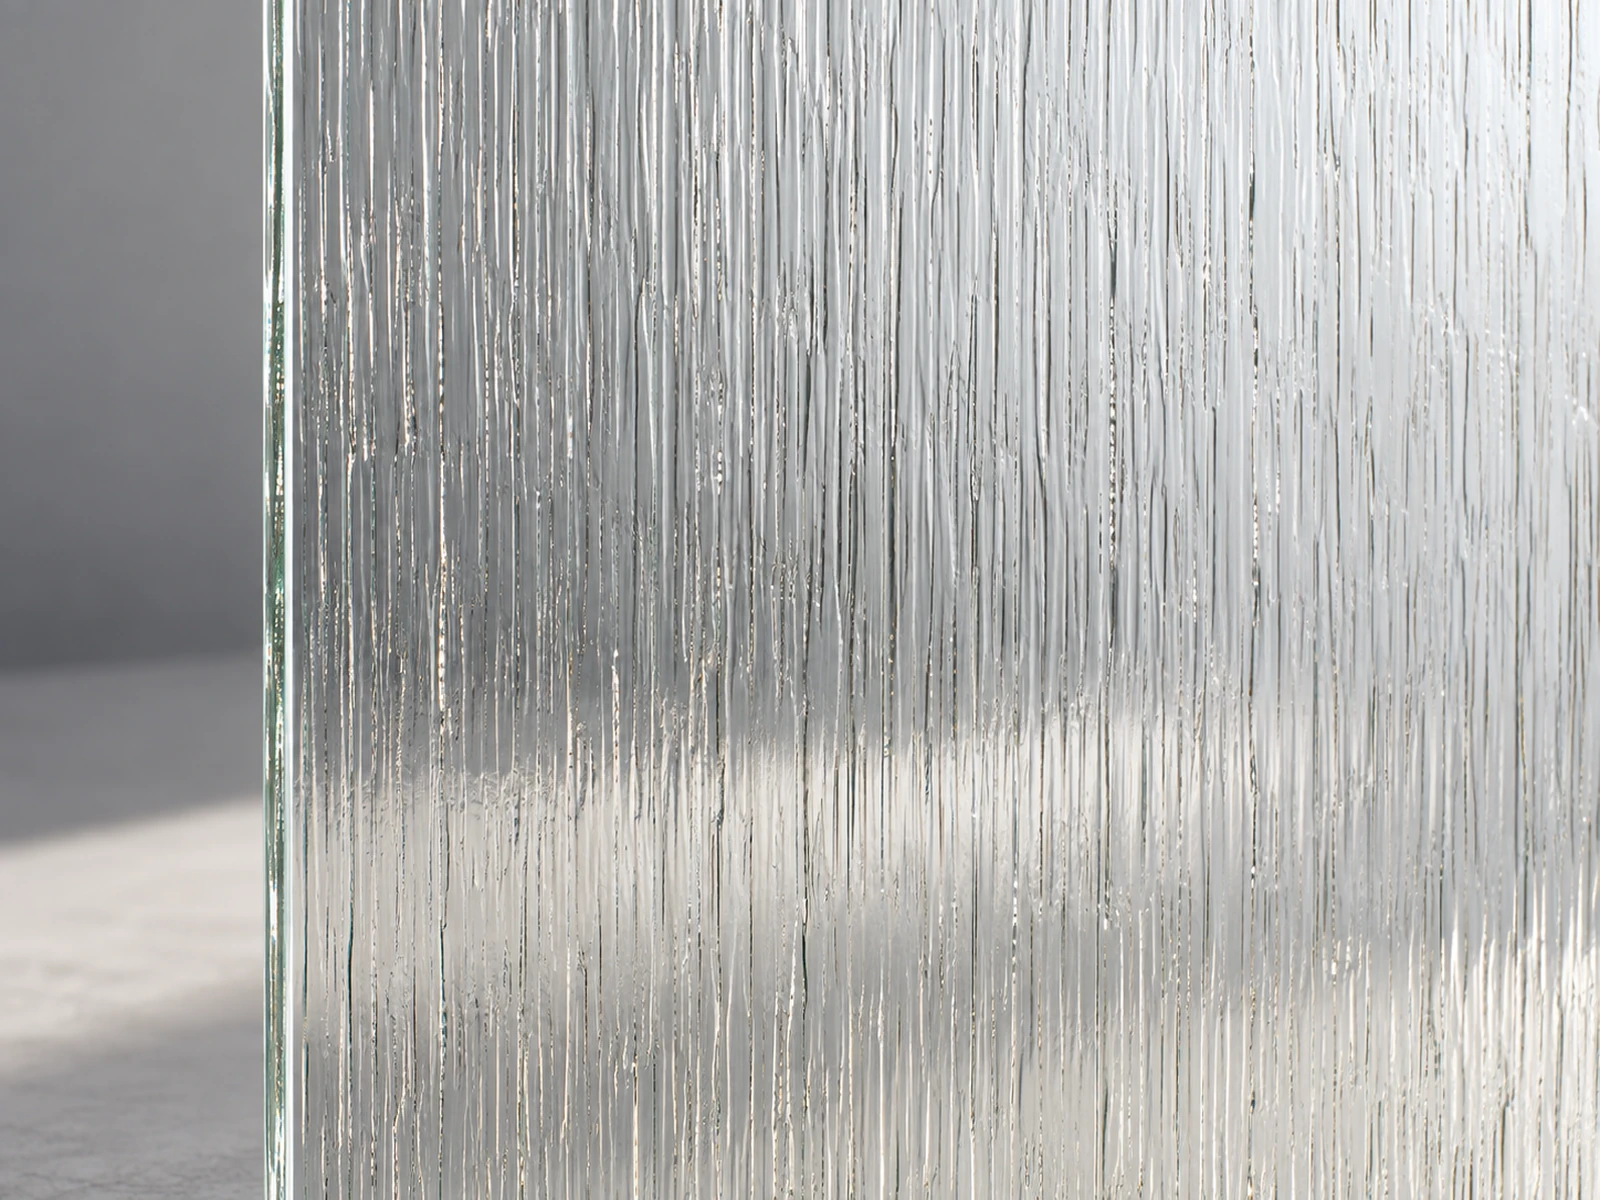
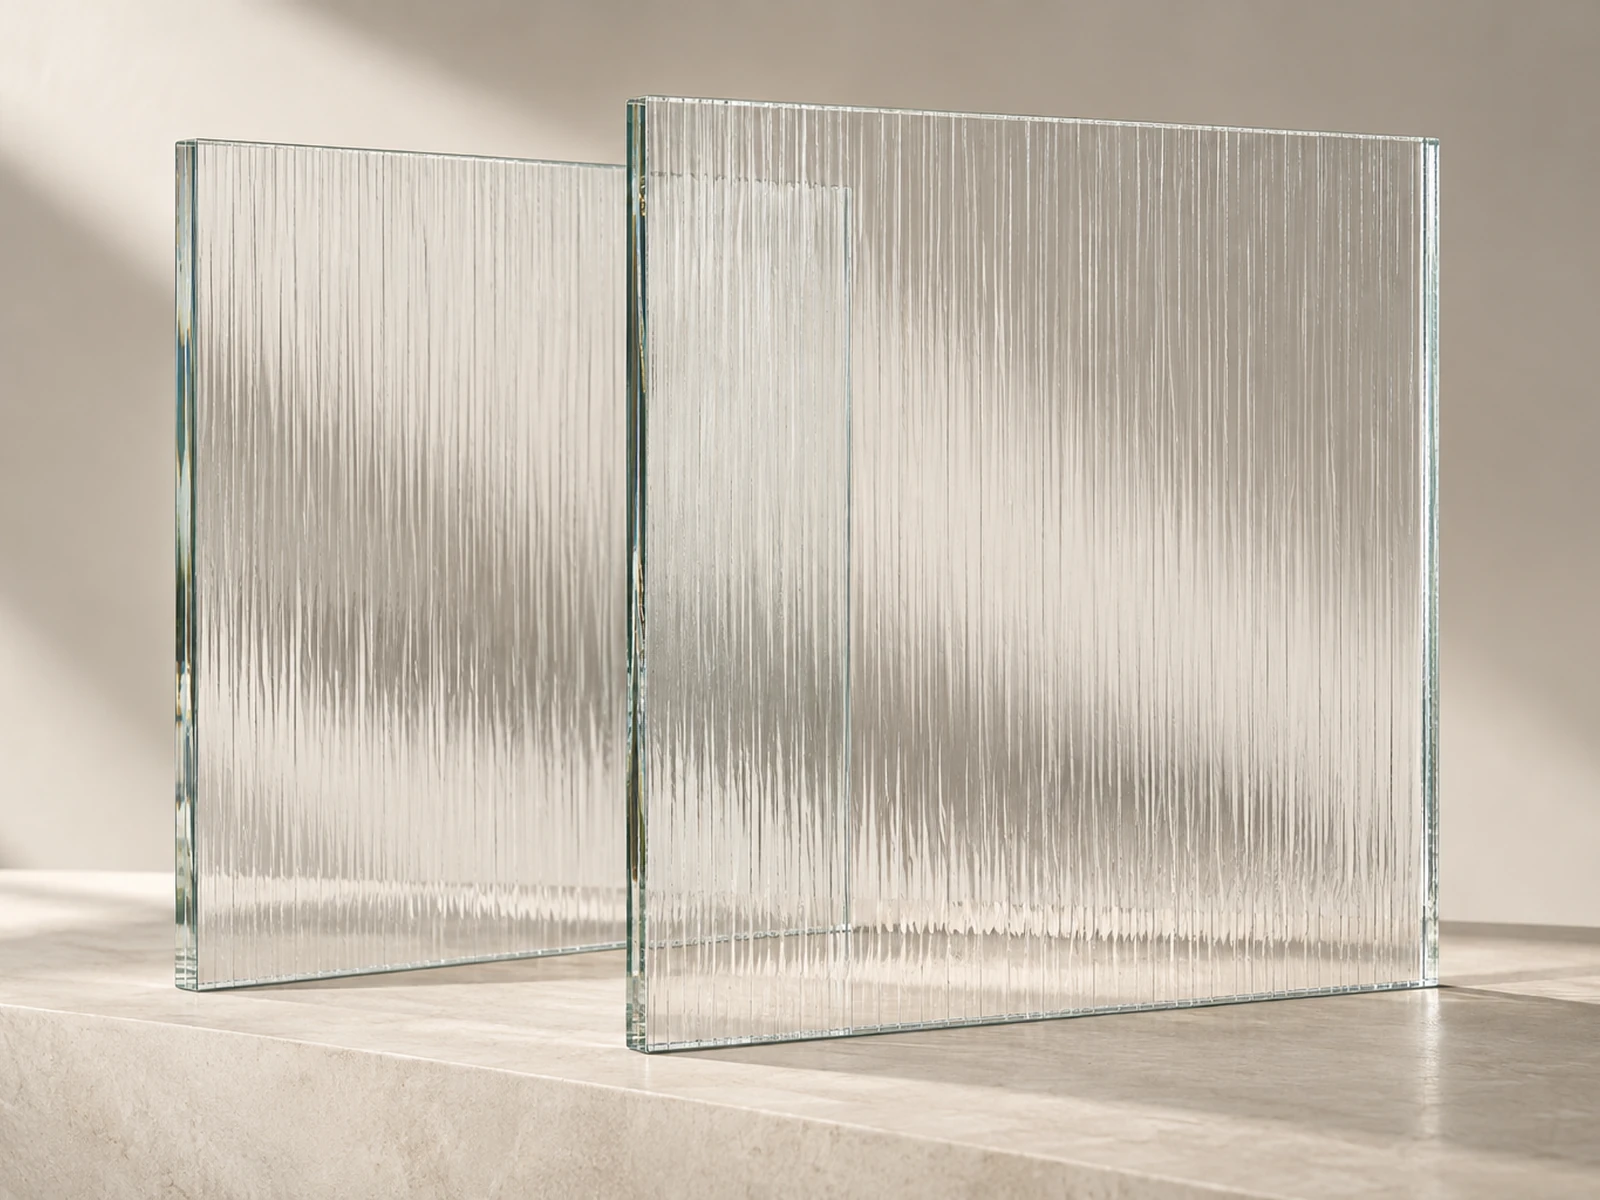
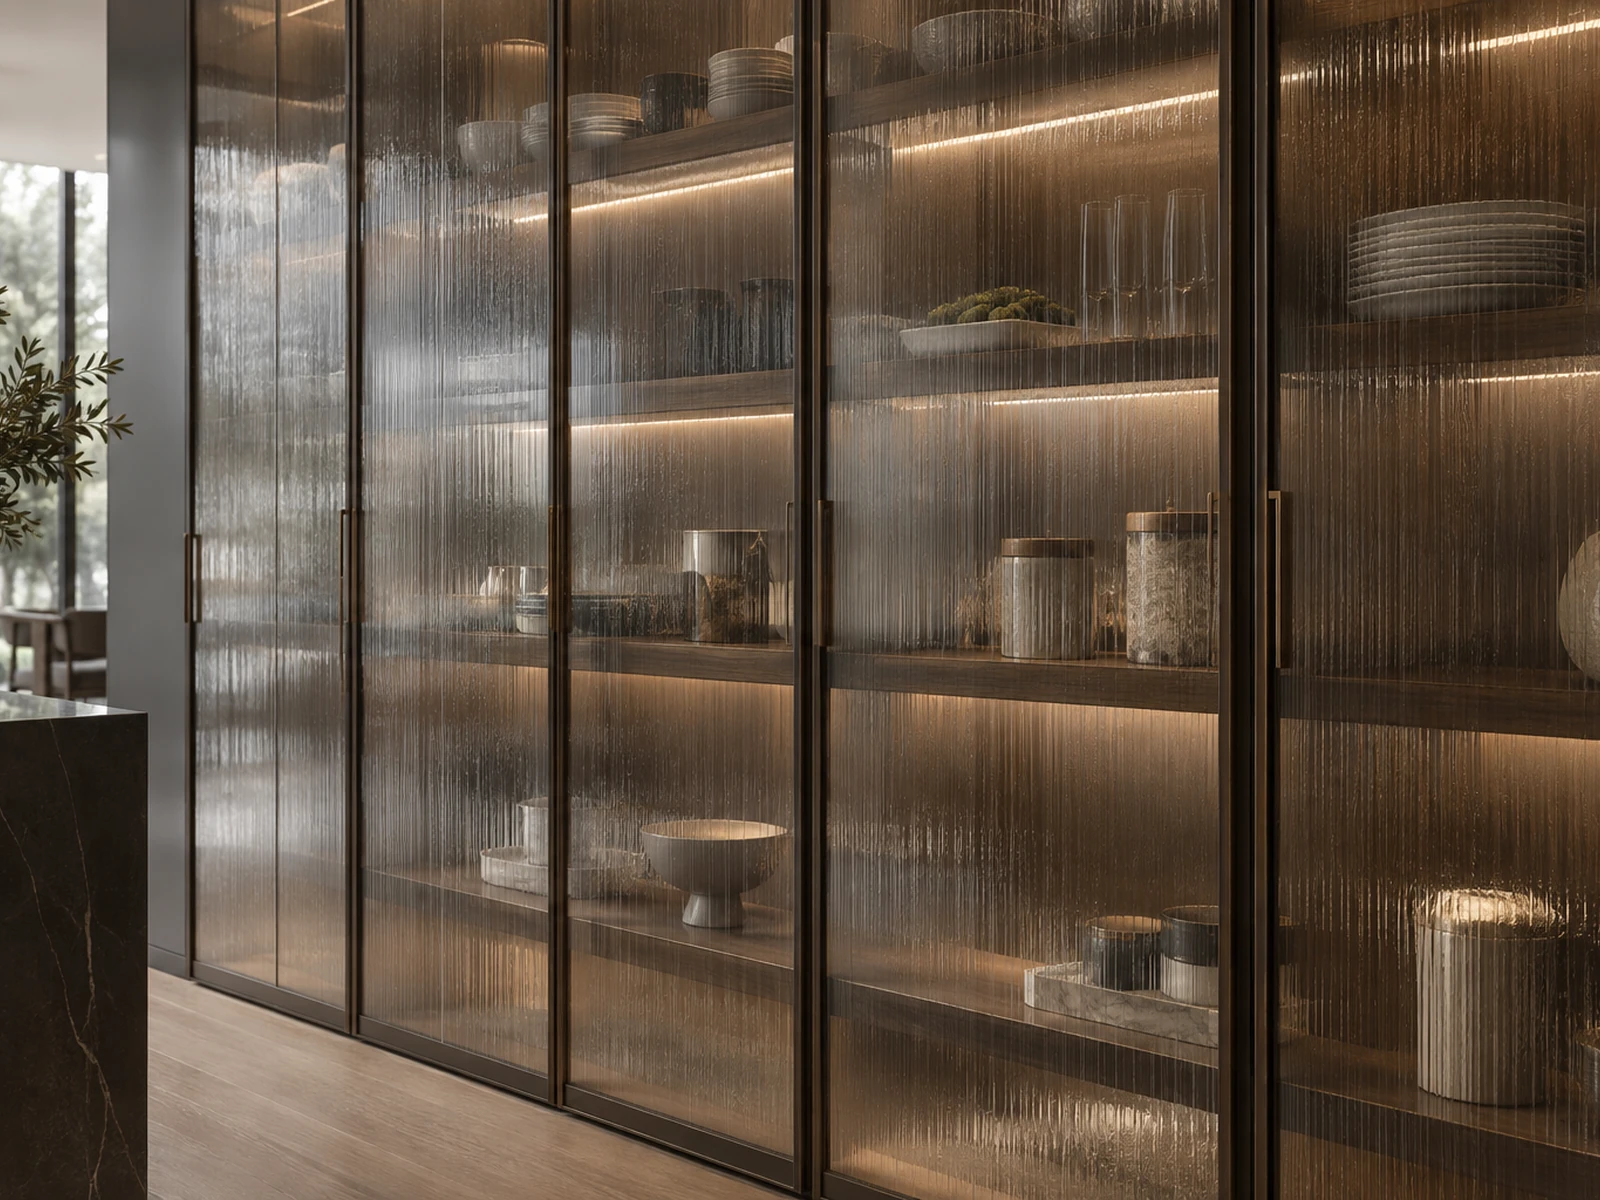
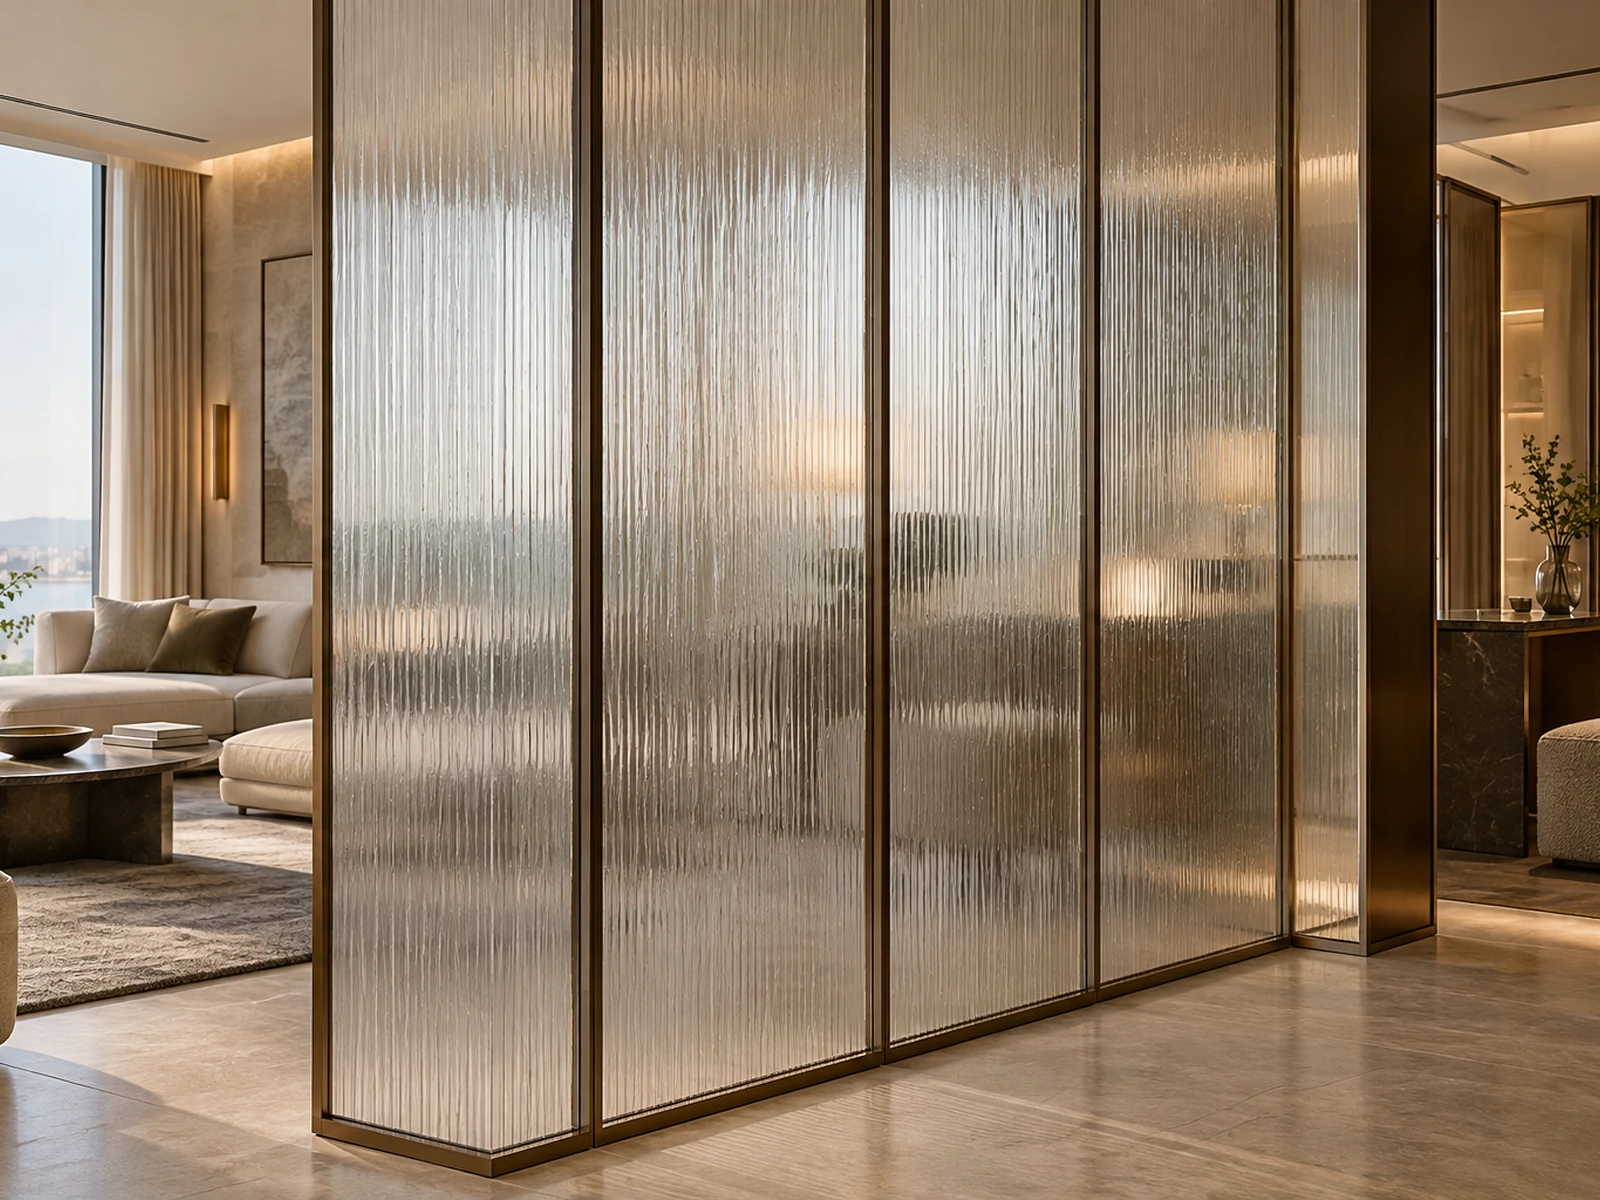
Glass with fine rain-like vertical lines · Glass infill. Compare this specific appearance with adjacent joinery and the selected lighting. The option combines a documented finish direction with its applicable construction; approve the physical sample before finalising the project specification.
Configuration & project checks
Colour direction
Glass with fine rain-like vertical lines
Surface treatment
Glass with fine rain-like vertical lines · Glass infill with the selected transparent, tinted, coated or patterned appearance. Confirm thickness, processing and the compatible frame before ordering.
Documented specification
Glass infill with the selected transparent, tinted, coated or patterned appearance. Confirm thickness, processing and the compatible frame before ordering. The appearance name does not establish toughening, laminated safety construction, coating performance or fire resistance.
Applications
Glass infill for the documented cabinet or interior-door context; frame and hardware compatibility are project-specific.
Availability & edition
Current finish, construction and order scope are agreed for each project after sample selection.
Delivery & lifecycle
Agree sample approval, production and shipment milestones separately. Retain the approved sample and discuss matching material for repairs or later additions.
Continue exploring
Choose your next step
Continue through the libraries, then bring your choices into a project brief.
START WITH YOUR PROJECT
A drawing. A material.
A place you have in mind.
Bring a rendering, CAD drawing, BOQ, sample or reference image. We can start from the information you have.
Start a project